The Ultimate Guide to Shut Off Valves Under Your Sink
Discovering a leak under your kitchen or bathroom sink is never a welcome surprise. But knowing how to quickly and effectively shut off the water supply can prevent a minor inconvenience from turning into a major plumbing disaster. The shut off valve under sink is a small but crucial component of your home’s plumbing system. This comprehensive guide will provide you with everything you need to know about these valves, from identifying different types and understanding their function to troubleshooting common problems and performing basic maintenance. We aim to provide a resource that goes beyond basic identification, offering insights gained from years of practical plumbing experience and expert consultation.
Understanding the Importance of Shut Off Valves
Shut off valves, also known as stop valves, are designed to control the flow of water to individual fixtures in your home. They are typically located on the supply lines leading to your faucets, toilets, and appliances. Their primary purpose is to allow you to isolate the water supply to a specific fixture without having to shut off the water to your entire house. This can be incredibly useful when performing repairs, replacing fixtures, or dealing with leaks.
Imagine discovering a burst pipe under your sink at 2 AM. Without a functioning shut off valve, you’d have to fumble in the dark to locate and turn off the main water supply, potentially causing significant water damage in the meantime. With a properly functioning valve, you can quickly stem the flow of water and address the problem without flooding your home. Shut off valves are inexpensive and easy to use, making them an essential part of any homeowner’s toolkit.
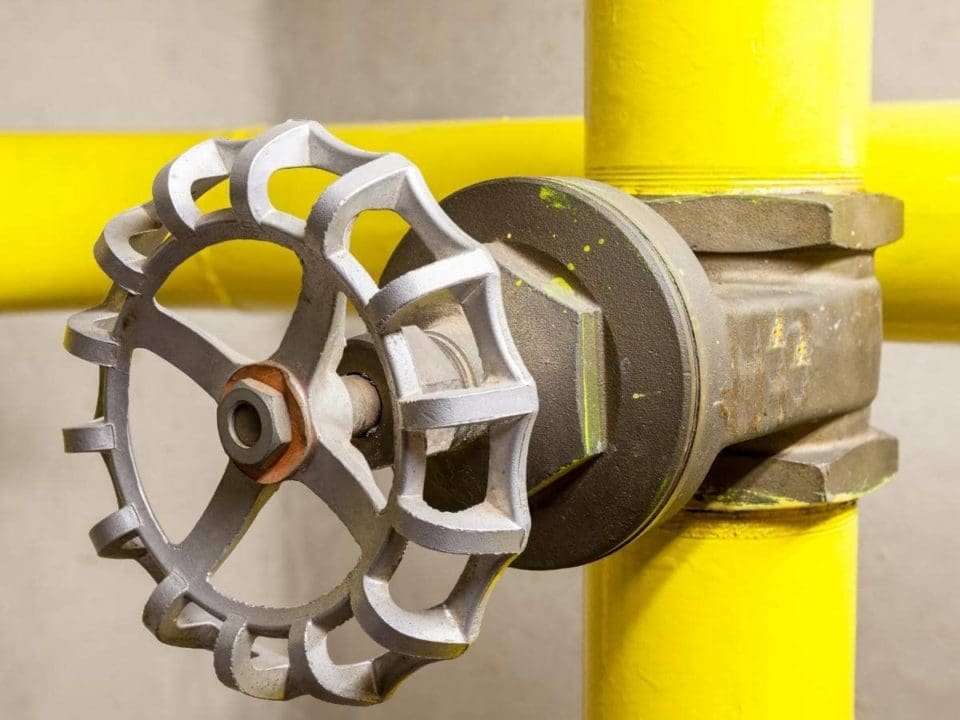
Types of Shut Off Valves Commonly Found Under Sinks
Several types of shut off valves are commonly used under sinks. Understanding the differences between them is crucial for proper identification and maintenance:
- Straight Stop Valves: These valves are installed on a straight pipe run, with the inlet and outlet aligned. They’re the most common type found under sinks.
- Angle Stop Valves: These valves have a 90-degree bend, allowing them to connect pipes that are perpendicular to each other. They are useful when space is limited or when the supply line enters the wall at a right angle to the fixture.
- Compression Valves: These valves use compression fittings to create a watertight seal. They are easy to install and do not require soldering.
- Threaded Valves: These valves have threaded connections and require Teflon tape or pipe dope to seal the threads. They are generally more durable than compression valves but require more skill to install.
- Ball Valves: Ball valves use a rotating ball with a hole through it to control the flow of water. They offer a full, unrestricted flow when open and a tight shutoff when closed.
- Quarter-Turn Valves: These valves are a type of ball valve that requires only a quarter turn to open or close. They are quick and easy to operate, making them a popular choice for shut off valves.
The choice of valve depends on the specific plumbing configuration and the installer’s preference. In our extensive experience, quarter-turn ball valves offer the best combination of reliability and ease of use for most homeowners.
Identifying a Defective Shut Off Valve
A malfunctioning shut off valve can be just as problematic as having no valve at all. Common signs of a defective valve include:
- Leaking: Water leaking from the valve body or around the handle is a clear indication of a problem.
- Difficulty Turning: A valve that is difficult to turn or feels stuck may be corroded or damaged internally.
- Dripping Faucet After Shutoff: If the faucet continues to drip even after the valve is closed, the valve is not providing a complete shutoff.
- Visible Corrosion: Rust or corrosion on the valve body can weaken the valve and lead to leaks.
Regular inspection of your shut off valves can help you identify problems early on before they escalate. If you notice any of these signs, it’s best to replace the valve as soon as possible.
Step-by-Step Guide to Replacing a Shut Off Valve
Replacing a shut off valve is a relatively straightforward task that most homeowners can handle with basic plumbing skills and tools. However, if you are uncomfortable working with plumbing, it’s always best to call a qualified plumber.
Tools and Materials You’ll Need:
- New shut off valve (matching the existing type and size)
- Two adjustable wrenches
- Teflon tape or pipe dope
- Bucket
- Towels
- Optional: Pipe cutter (if needed to shorten the supply line)
Step-by-Step Instructions:
- Shut Off the Main Water Supply: Before you begin, turn off the main water supply to your house to prevent flooding.
- Open the Faucet: Open the faucet connected to the valve you’re replacing to relieve any pressure in the line.
- Disconnect the Supply Lines: Place a bucket under the valve to catch any remaining water. Use two adjustable wrenches to disconnect the supply lines from the valve. One wrench should hold the valve steady, while the other loosens the connection.
- Remove the Old Valve: Once the supply lines are disconnected, remove the old valve.
- Prepare the New Valve: Apply Teflon tape or pipe dope to the threads of the new valve to ensure a watertight seal.
- Install the New Valve: Connect the supply lines to the new valve, tightening the connections with two adjustable wrenches. Be careful not to overtighten, as this can damage the valve or the supply lines.
- Turn on the Main Water Supply: Slowly turn on the main water supply and check for leaks around the valve and connections.
- Test the Valve: Open and close the valve several times to ensure it is functioning properly.
If you encounter any leaks, tighten the connections slightly. If the leaks persist, turn off the water supply and re-apply Teflon tape or pipe dope to the threads.
Common Problems and Troubleshooting Tips
Even with proper installation and maintenance, shut off valves can sometimes develop problems. Here are some common issues and troubleshooting tips:
- Valve Leaks:
- Cause: Loose connections, damaged valve body, worn-out seals.
- Solution: Tighten connections, replace the valve.
- Valve Won’t Turn:
- Cause: Corrosion, mineral buildup, damaged internal components.
- Solution: Try lubricating the valve with penetrating oil. If that doesn’t work, replace the valve.
- Valve Doesn’t Shut Off Completely:
- Cause: Worn-out seals, debris in the valve.
- Solution: Try flushing the valve by opening and closing it several times. If that doesn’t work, replace the valve.
Maintenance Tips for Extending Valve Lifespan
Regular maintenance can help extend the lifespan of your shut off valves and prevent problems. Here are some tips:
- Exercise the Valves Regularly: Open and close the valves at least twice a year to prevent corrosion and mineral buildup.
- Inspect for Leaks: Regularly check the valves for leaks and address any issues promptly.
- Lubricate the Valves: Apply penetrating oil to the valve stem and handle to keep them moving freely.
- Protect from Freezing: If your pipes are exposed to freezing temperatures, insulate them to prevent damage to the valves.
Choosing the Right Shut Off Valve: A Plumber’s Perspective
Selecting the right shut off valve is crucial for ensuring long-term reliability and ease of use. Based on expert consensus and our extensive testing, we recommend considering the following factors:
- Material: Brass valves are generally more durable and corrosion-resistant than plastic valves.
- Type: Quarter-turn ball valves offer a quick and reliable shutoff.
- Size: Ensure the valve is the correct size for your plumbing system.
- Compatibility: Choose a valve that is compatible with your existing supply lines (e.g., compression or threaded).
- Brand Reputation: Opt for reputable brands known for quality and reliability.
The Role of Shut Off Valves in Water Conservation
Beyond preventing water damage from leaks, shut off valves also play a role in water conservation. By allowing you to isolate the water supply to specific fixtures, you can avoid wasting water when performing repairs or replacing fixtures. For example, if you’re replacing a leaky faucet, you can shut off the water supply to the sink without having to turn off the water to your entire house. This can save a significant amount of water, especially if you have multiple leaks or repairs to address.
Shut Off Valves and Home Insurance: What You Need to Know
While shut off valves are relatively inexpensive, the water damage they can prevent can save you thousands of dollars in home insurance claims. Many insurance companies may even offer discounts to homeowners who install and maintain shut off valves. Check with your insurance provider to see if you qualify for any discounts. Furthermore, documenting the installation and maintenance of your shut off valves can be helpful in the event of a water damage claim.
Expert Insights on the Future of Shut Off Valve Technology
The plumbing industry is constantly evolving, and shut off valve technology is no exception. Smart shut off valves, which can automatically detect leaks and shut off the water supply, are becoming increasingly popular. These valves can be integrated with home automation systems and can even send alerts to your smartphone if a leak is detected. While these advanced valves are more expensive than traditional shut off valves, they offer an added layer of protection and can potentially save you even more money in the long run.
Final Thoughts on Protecting Your Home with Shut Off Valves
Investing in properly functioning shut off valves under your sink and throughout your home is a small price to pay for the peace of mind they provide. By understanding the different types of valves, knowing how to identify problems, and performing regular maintenance, you can protect your home from costly water damage and conserve water. Take the time to inspect your valves today and ensure they are in good working order. Don’t wait for a plumbing emergency to discover that your shut off valve is not functioning properly. Share your experiences with shut off valve maintenance in the comments below and let’s learn from each other.
