Mastering the 36 Yard Zero: Adjusting Your Rifle for 25 Yards
Achieving consistent accuracy with your rifle requires understanding and mastering the concept of zeroing. Many shooters find themselves in situations where setting a precise zero at a longer distance, like 100 yards, isn’t feasible. This is where understanding how a 36-yard zero translates when adjusted to 25 yards becomes crucial. This comprehensive guide will delve into the specifics of this adjustment, offering insights into the ballistics involved, practical methods for achieving accuracy, and expert tips for ensuring your rifle is properly zeroed for various scenarios.
Whether you’re a seasoned marksman or a novice shooter, this article will provide the knowledge and practical advice needed to confidently adjust your rifle’s zero from 36 yards to 25 yards, improving your accuracy and consistency. We’ll cover everything from the underlying ballistics to the practical steps involved in making the adjustment, as well as common mistakes to avoid.
Understanding the Ballistics Behind the 36 Yard Zero
To accurately adjust a 36-yard zero to 25 yards, a solid understanding of basic ballistics is essential. The trajectory of a bullet is not a straight line; it follows a curved path influenced by gravity and air resistance. The point where the bullet’s trajectory intersects the line of sight (the path your scope or sights are aligned on) is known as the zero. A 36-yard zero means that at 36 yards, your bullet will hit exactly where you’re aiming. Because of the parabolic arc of the bullet’s trajectory, it will cross the line of sight twice: once on the way up, and again on the way down. Therefore, understanding where the bullet impacts at other distances, like 25 yards, relative to your 36-yard zero, is critical.
Several factors influence a bullet’s trajectory, including:
- Bullet Weight and Shape: Heavier bullets and more aerodynamic shapes tend to retain velocity better and are less affected by wind.
- Muzzle Velocity: The speed at which the bullet leaves the barrel directly impacts its trajectory. Higher muzzle velocity generally results in a flatter trajectory.
- Ballistic Coefficient (BC): A measure of a bullet’s ability to overcome air resistance. Higher BC values indicate better aerodynamic performance.
- Environmental Factors: Temperature, air pressure, and wind can all affect a bullet’s flight path.
Considering these factors, it’s important to remember that a 36-yard zero doesn’t mean the bullet will hit the same point of aim at 25 yards. Typically, the bullet will impact slightly above the point of aim at 25 yards when zeroed at 36 yards. The exact amount of this difference depends on the specific cartridge and firearm, but understanding this principle is the first step in making accurate adjustments.
Practical Application: Adjusting Your Rifle’s Zero
Now that we understand the underlying ballistics, let’s discuss the practical steps involved in adjusting your rifle’s zero from 36 yards to 25 yards. This process requires careful attention to detail and a systematic approach.
- Establish a Stable Shooting Platform: Use a stable rest or bipod to minimize movement and ensure consistent shots.
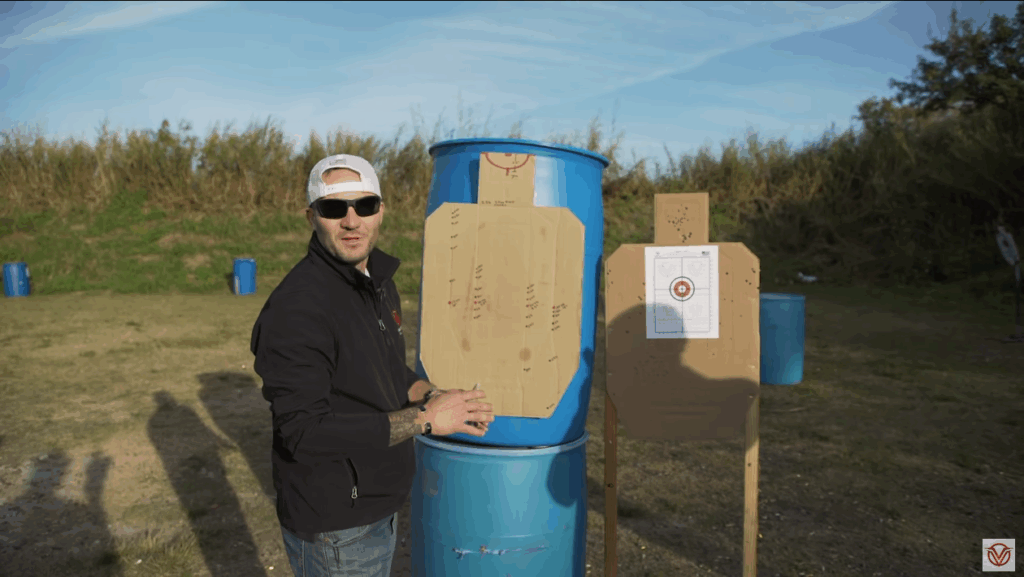
- Set Up Your Target: Place a target at 25 yards. A target with clearly defined grid lines can be helpful for making precise adjustments.
- Fire a Group of Shots: Aim at the center of the target and fire a group of three to five shots.
- Analyze Your Shot Group: Carefully examine the shot group. Measure the distance between the center of the group and the point of aim.
- Make Adjustments: Use the turrets on your scope or adjust your iron sights to correct the point of impact. Remember the direction of adjustment (e.g., “up” or “down,” “left” or “right”). Most scopes use Minutes of Angle (MOA) or Milliradians (MIL) for adjustments, so understand the value of each click on your scope.
- Repeat the Process: After making adjustments, fire another group of shots to confirm that your zero is now accurate at 25 yards. Repeat steps 4 and 5 as needed until you achieve the desired accuracy.
Tools for Precision Adjustments
Several tools can aid in making precise zero adjustments:
- Ballistic Calculators: These software programs or apps can predict bullet trajectory at different distances, given specific parameters like bullet weight, muzzle velocity, and ballistic coefficient. They can provide a theoretical estimate of where your bullet will impact at 25 yards based on a 36-yard zero.
- MOA/MIL Rulers: These rulers can help you accurately measure the distance between your shot group and the point of aim, allowing for more precise adjustments to your scope.
- Bore Sighters: While not a substitute for live firing, a bore sighter can help you get your scope roughly aligned with the barrel, saving time and ammunition during the zeroing process.
Common Mistakes to Avoid
When adjusting your rifle’s zero, it’s easy to make mistakes that can lead to inaccurate results. Here are some common pitfalls to avoid:
- Inconsistent Shooting Technique: Maintaining a consistent grip, stance, and trigger pull is crucial for accurate shooting.
- Ignoring Environmental Factors: Wind, temperature, and light can all affect your point of impact. Be aware of these factors and adjust your aim accordingly.
- Rushing the Process: Zeroing your rifle is not something to be rushed. Take your time, be patient, and make small adjustments until you achieve the desired accuracy.
- Failing to Properly Secure Your Rifle: A wobbly rest or bipod can introduce unwanted movement and affect your shot placement.
- Assuming All Ammunition is the Same: Different brands or types of ammunition can have different ballistic properties. Always zero your rifle with the specific ammunition you plan to use.
The Impact of Ammunition Choice on Zeroing
The ammunition you choose plays a crucial role in the accuracy and consistency of your rifle. Different types of ammunition can have varying bullet weights, muzzle velocities, and ballistic coefficients, all of which affect bullet trajectory. For example, a heavier bullet will generally have a lower muzzle velocity and a more pronounced trajectory than a lighter bullet. Similarly, a bullet with a higher ballistic coefficient will be less affected by air resistance and will maintain its velocity better over longer distances.
When zeroing your rifle, it’s essential to use the specific type of ammunition you intend to use in the field. Switching to a different type of ammunition after zeroing can significantly alter your point of impact. If you plan to use multiple types of ammunition, it’s best to zero your rifle separately for each type or to develop a cheat sheet that shows the expected point of impact for each ammunition type at different distances.
Furthermore, ammunition quality can also impact accuracy. Consistent manufacturing and quality control are essential for producing ammunition that performs reliably. Inconsistent ammunition can lead to variations in muzzle velocity and bullet trajectory, making it difficult to achieve a consistent zero.
Choosing the Right Scope for Your Rifle
Selecting the right scope is paramount for achieving optimal accuracy and precision with your rifle. A high-quality scope not only provides a clear and magnified view of the target but also offers precise and repeatable adjustments for windage and elevation. Here are some factors to consider when choosing a scope for your rifle:
- Magnification: The appropriate magnification level depends on the intended use of your rifle. For close-range shooting, a lower magnification level (e.g., 1-4x) may be sufficient, while for longer-range shooting, a higher magnification level (e.g., 6-24x) may be necessary.
- Objective Lens Diameter: The objective lens diameter affects the amount of light that enters the scope. A larger objective lens diameter generally results in a brighter and clearer image, especially in low-light conditions.
- Turret Adjustments: The turrets on your scope allow you to adjust the point of impact. Look for scopes with clearly marked and easily adjustable turrets. Also, consider whether you prefer MOA or MIL adjustments.
- Reticle Design: The reticle is the crosshair or aiming point in the scope. Choose a reticle design that is appropriate for your shooting style and the type of targets you will be engaging.
- Durability and Construction: Your scope should be durable and able to withstand the rigors of field use. Look for scopes that are made from high-quality materials and are waterproof and fog-proof.
The Importance of a Proper Cheek Weld
A proper cheek weld is essential for consistent and accurate shooting. The cheek weld refers to the point of contact between your cheek and the stock of your rifle. A consistent cheek weld ensures that your eye is properly aligned with the scope, which is crucial for maintaining a consistent sight picture.
To achieve a proper cheek weld, adjust the stock of your rifle (if adjustable) or use a cheek riser to ensure that your eye is centered in the scope. The goal is to have your cheek firmly and consistently pressed against the stock each time you shoulder the rifle. This will help to eliminate parallax and ensure that your point of aim is consistent.
A wobbly or inconsistent cheek weld can lead to variations in your point of impact, making it difficult to achieve a consistent zero. Take the time to practice and refine your cheek weld until it becomes second nature.
Advanced Techniques for Fine-Tuning Your Zero
Once you’ve established a basic zero at 25 yards, there are several advanced techniques you can use to fine-tune your accuracy and consistency:
- Ladder Testing: This involves shooting groups of shots at different distances to determine the optimal powder charge for your ammunition.
- Group Size Analysis: Analyzing the size and shape of your shot groups can provide valuable insights into your shooting technique and the performance of your rifle and ammunition.
- Wind Reading: Learning to accurately read the wind is essential for long-range shooting. Wind can significantly affect bullet trajectory, so it’s important to be able to estimate the wind speed and direction and adjust your aim accordingly.
- Tracking Your Data: Keeping a log of your shooting sessions, including the date, time, location, weather conditions, ammunition type, and point of impact, can help you identify trends and improve your accuracy over time.
Cleaning and Maintaining Your Rifle
Regular cleaning and maintenance are essential for ensuring the accuracy and reliability of your rifle. A dirty or poorly maintained rifle can experience reduced accuracy, increased recoil, and even malfunctions.
Here are some basic rifle cleaning and maintenance tips:
- Clean Your Rifle After Each Shooting Session: Remove any carbon buildup, powder residue, and other debris from the barrel and action.
- Lubricate Moving Parts: Apply a light coat of lubricant to the moving parts of your rifle, such as the bolt and trigger mechanism.
- Inspect Your Rifle Regularly: Check for any signs of wear and tear, such as cracks, loose screws, or damaged parts.
- Store Your Rifle Properly: Store your rifle in a safe and dry place to prevent rust and corrosion.
Zeroing in the Real World: Practical Scenarios
Understanding how to adjust your zero from 36 yards to 25 yards is valuable in various practical scenarios. For instance, in tactical situations, you might need to quickly adjust your zero based on the available engagement distances. Similarly, hunters might encounter situations where they need to make precise shots at varying ranges. Having a solid understanding of ballistics and zeroing techniques allows you to adapt to these situations and make accurate shots.
Consider a scenario where you’ve zeroed your rifle at 36 yards, but you suddenly need to engage a target at 25 yards. Knowing that your bullet will likely impact slightly high at 25 yards, you can adjust your point of aim accordingly. This could mean aiming slightly lower than the center of the target, or using your scope’s holdover points to compensate for the bullet’s trajectory.
Expert Insights on Achieving Consistent Accuracy
Achieving consistent accuracy is the ultimate goal for any shooter. While zeroing your rifle is an important first step, it’s only one piece of the puzzle. Consistent accuracy requires a combination of proper technique, high-quality equipment, and a thorough understanding of ballistics. As experts often say, consistent practice and meticulous attention to detail are the keys to success.
Consider these tips from seasoned marksmen:
- Focus on the Fundamentals: Master the basics of shooting, such as grip, stance, trigger control, and breathing.
- Practice Regularly: The more you shoot, the better you’ll become at reading the wind, judging distances, and making accurate shots.
- Seek Expert Guidance: Take a shooting class or work with a qualified instructor to learn advanced techniques and improve your skills.
- Be Patient: Achieving consistent accuracy takes time and dedication. Don’t get discouraged if you don’t see results immediately.
Perfecting Your Shot: Achieving Precision with a 25 Yard Adjustment
Mastering the adjustment from a 36-yard zero to a 25-yard zero isn’t just about math; it’s about understanding the physics of bullet flight and the nuances of your rifle. By carefully considering factors like ammunition type, environmental conditions, and your own shooting technique, you can confidently adjust your zero and achieve consistent accuracy in any situation. Remember that the journey to becoming a skilled marksman is ongoing. Embrace the learning process, practice regularly, and never stop seeking ways to improve your skills.
Ready to take your shooting accuracy to the next level? Share your experiences with zeroing your rifle in the comments below. Your insights can help others learn and improve their skills as well.
