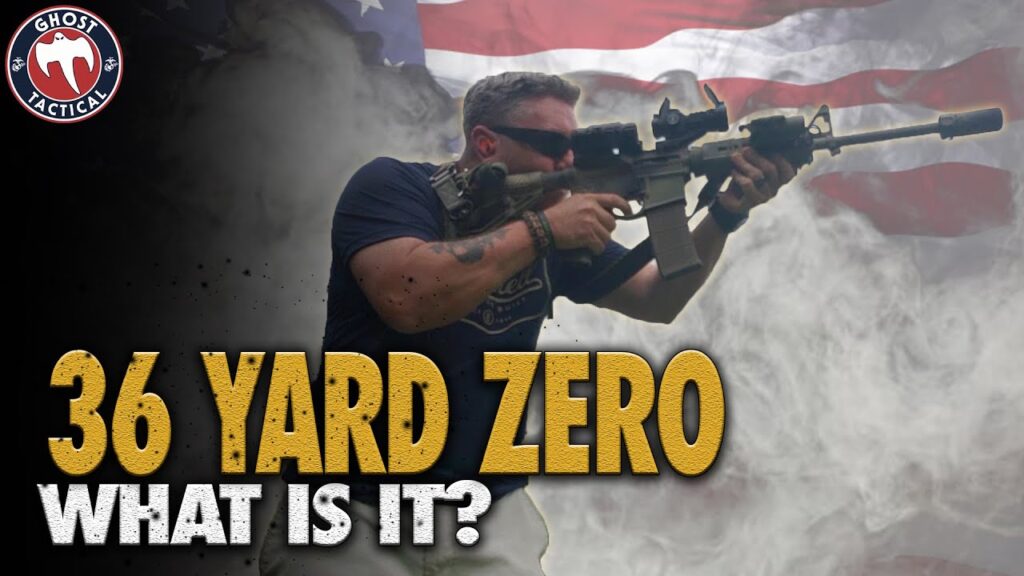
Mastering the 36-Yard Zero: Optimizing Your Rifle for 25-Yard Accuracy
Achieving pinpoint accuracy with your rifle isn’t just about buying the best equipment; it’s about understanding the science behind ballistics and mastering the art of zeroing. One critical technique for close-quarters shooting, particularly with AR-15 platforms, is utilizing a 36-yard zero target for 25-yard engagements. This seemingly counterintuitive approach offers significant advantages in practical shooting scenarios. This guide will delve into the intricacies of the 36-yard zero, explaining its benefits, how to achieve it, and why it’s a valuable tool for any serious shooter. We’ll explore the ballistic principles at play, providing you with the knowledge and expertise to confidently apply this technique in the field.
Understanding the Ballistic Arc and Zeroing Concepts
To fully grasp the concept of a 36-yard zero at 25 yards, it’s essential to understand the fundamental principles of ballistics, specifically the bullet’s trajectory. When a bullet leaves the barrel of a rifle, it doesn’t travel in a straight line. Gravity immediately begins to act upon it, causing it to drop. However, the sights on your rifle are typically mounted above the bore. This means the barrel is angled upwards slightly so that the bullet’s path intersects the line of sight at some point downrange. This point of intersection is the “zero.”
The bullet’s trajectory is an arc. It rises above the line of sight, reaches its highest point (maximum ordinate), and then falls back down, eventually crossing the line of sight again. A traditional zeroing approach might involve setting the zero at 100 yards, meaning the bullet’s path crosses the line of sight at that distance. However, for close-quarters engagements, a 100-yard zero can lead to significant holdover adjustments at closer ranges. This is where the 36-yard zero comes into play.
The 36-yard zero leverages the fact that the bullet’s trajectory crosses the line of sight twice. By zeroing your rifle so that the bullet impacts the target at 36 yards, you’re also essentially zeroed at approximately 250-300 yards, depending on the cartridge and rifle setup. More importantly, within that 0-300 yard range, the bullet’s trajectory remains relatively flat, minimizing the need for significant holdover adjustments. This is particularly advantageous in dynamic shooting situations where speed and accuracy are paramount.
The Rationale Behind the 36-Yard/25-Yard Correlation
The relationship between a 36-yard zero and a 25-yard target is based on the near-identical point of impact (POI) at these two distances for many common rifle cartridges, especially those used in AR-15 platforms like the 5.56 NATO. When zeroing at 25 yards, you’re essentially setting the initial upward angle of the barrel so that the bullet will rise to meet the line of sight again at approximately 36 yards.
This method offers a convenient way to establish a 36-yard zero without requiring a 36-yard shooting range. Most indoor ranges are 25 yards, making this technique highly accessible. By accurately zeroing at 25 yards using a specific target designed for this purpose (which we’ll discuss later), you can confidently expect your rifle to be effectively zeroed at 36 yards as well.
This correlation isn’t perfect for every cartridge or rifle setup, but it provides a close approximation that works exceptionally well for the majority of shooters using AR-15s with standard barrel lengths and common ammunition. Minor adjustments may be needed based on your specific setup, but the 25-yard zeroing method serves as an excellent starting point.
Step-by-Step Guide to Zeroing at 25 Yards for a 36-Yard Zero
Follow these steps to accurately zero your rifle at 25 yards for a 36-yard zero:
- Safety First: Ensure your firearm is unloaded and pointed in a safe direction. Always wear appropriate eye and ear protection.
- Proper Setup: Use a stable shooting platform, such as a bench rest or sandbags, to minimize movement and ensure consistent shot placement.
- Target Selection: Use a specialized 25-yard zero target designed for this purpose. These targets typically feature specific aiming points and impact zones that correspond to a 36-yard zero. Many are readily available online and at shooting supply stores.
- Initial Shots: Fire a group of three to five shots at the center aiming point of the target.
- Assess Impact: Carefully examine your shot group. Determine the center of the group (the average point of impact).
- Make Adjustments: Use the windage and elevation adjustments on your sights or optic to move the point of impact to the desired location on the target. Refer to the target instructions for specific adjustment guidelines. For example, the target might indicate that a certain number of clicks on your optic will move the POI a specific amount at 25 yards.
- Refine Zero: Repeat steps 4-6 until your shot group is consistently centered on the desired impact zone.
- Confirm Zero: Once you’re satisfied with your zero at 25 yards, it’s highly recommended to confirm it at 36 yards (if possible) or at other distances within your expected engagement range.
Choosing the Right 25-Yard Zero Target
Selecting the appropriate 25-yard zero target is crucial for achieving an accurate 36-yard zero. Look for targets that are specifically designed for this purpose and provide clear instructions on how to interpret the impact zones and make necessary adjustments. Many reputable manufacturers offer these targets, and they often include helpful diagrams and explanations.
Some key features to look for in a 25-yard zero target include:
- Clear Aiming Point: A distinct and easily visible aiming point is essential for consistent shot placement.
- Defined Impact Zones: Clearly marked impact zones that indicate where your shots should land for a proper 36-yard zero.
- Adjustment Guidelines: Instructions on how to adjust your sights or optic based on the location of your shot group within the impact zones.
- Cartridge Compatibility: Some targets are designed for specific cartridges (e.g., 5.56 NATO). Ensure the target you choose is appropriate for your rifle.
Benefits of a 36-Yard Zero
Using a 36-yard zero offers several significant advantages, particularly in close-quarters combat and tactical shooting scenarios:
- Flatter Trajectory: As mentioned earlier, the 36-yard zero results in a flatter trajectory within the 0-300 yard range, minimizing the need for holdover adjustments.
- Improved Speed: The flatter trajectory allows for faster target acquisition and engagement, as you don’t have to spend as much time calculating holdover.
- Reduced Error: Minimizing holdover reduces the potential for errors in estimation, leading to more accurate shots.
- Enhanced Versatility: The 36-yard zero provides a versatile solution for a wide range of shooting distances, making it suitable for various applications.
- Optimized for Close Quarters: Especially effective in environments where engagements are likely to occur at close to intermediate ranges.
Common Mistakes to Avoid When Zeroing
Even with the best equipment and instructions, it’s easy to make mistakes when zeroing your rifle. Here are some common pitfalls to avoid:
- Inconsistent Shooting Platform: Using an unstable shooting platform will lead to inconsistent shot placement and make it difficult to achieve an accurate zero.
- Improper Breathing Control: Failure to control your breathing can cause movement and affect your shot placement.
- Jerking the Trigger: Jerking the trigger instead of smoothly squeezing it will throw off your shots.
- Ignoring Wind: Even a slight breeze can significantly affect bullet trajectory, especially at longer ranges.
- Not Confirming Zero: Failing to confirm your zero at multiple distances can lead to inaccurate shots in real-world scenarios.
Advanced Considerations and Fine-Tuning
Once you’ve established a basic 36-yard zero, you can further refine it to optimize performance for your specific rifle, ammunition, and shooting style. This may involve:
- Chronographing Your Ammunition: Measuring the muzzle velocity of your ammunition will allow you to calculate a more precise ballistic trajectory and fine-tune your zero.
- Adjusting for Environmental Conditions: Changes in temperature, altitude, and humidity can affect bullet trajectory. Consider making adjustments to your zero based on these factors.
- Using a Ballistic Calculator: Ballistic calculators can help you predict bullet trajectory and determine the optimal zero for your specific needs.
The Role of Optic Height in Zeroing
The height of your optic above the bore of your rifle plays a crucial role in the bullet’s trajectory and, consequently, the accuracy of your zero. A higher optic height will result in a more pronounced difference between the line of sight and the bullet’s path, especially at close ranges. This means that the point where the bullet initially crosses the line of sight (your near zero) will be closer to the muzzle, while the far zero will be further downrange. Understanding your optic height is essential for accurately predicting bullet trajectory and making informed decisions about your zeroing strategy.
Most AR-15 optics have a standard height above bore. However, using taller or shorter mounts can affect the trajectory. It’s crucial to account for your optic height when using ballistic calculators or interpreting ballistic charts. A difference of even half an inch can impact your point of impact at longer ranges.
Real-World Applications and Tactical Advantages
The 36-yard zero isn’t just a theoretical exercise; it has significant real-world applications and tactical advantages. In close-quarters combat, where engagements often occur at distances of 50 yards or less, the flatter trajectory afforded by the 36-yard zero allows for faster and more accurate shots. This can be the difference between life and death in a high-stress situation.
Furthermore, the 36-yard zero is well-suited for home defense scenarios, where engagements are likely to occur at close range. It provides a point-and-shoot solution that minimizes the need for complex calculations or adjustments. While a 50 yard zero provides a similar trajectory, the 36 yard provides slightly flatter trajectory between 0-50 yards.
The 36-yard zero also offers advantages in hunting situations, particularly when hunting small game or varmints at close to medium ranges. The flatter trajectory makes it easier to hit small, moving targets without having to worry about significant holdover.
Expert Insights: Why Professionals Choose the 36-Yard Zero
Many experienced shooters, law enforcement officers, and military personnel prefer the 36-yard zero for its versatility and effectiveness in a wide range of scenarios. They recognize that it provides an optimal balance between close-range and medium-range accuracy, making it a valuable tool in dynamic shooting situations. Leading firearms instructors often recommend the 36-yard zero as a starting point for new shooters, as it simplifies the process of learning to shoot accurately at varying distances. Furthermore, its compatibility with common AR-15 platforms and ammunition makes it a practical and accessible choice for a wide range of users.
Understanding Minute of Angle (MOA) and Its Impact on Zeroing
Minute of Angle (MOA) is a crucial concept for understanding how adjustments to your sights or optic translate to changes in the point of impact on the target. One MOA is approximately equal to one inch at 100 yards. This means that if your optic has adjustments in 1/4 MOA increments, each click will move the point of impact approximately 1/4 inch at 100 yards. Understanding MOA allows you to make precise adjustments to your zero based on the location of your shot group on the target.
At 25 yards, one MOA is equal to approximately 1/4 inch. Therefore, if your shots are consistently 1 inch low at 25 yards, you would need to adjust your elevation by 4 MOA (or 16 clicks on an optic with 1/4 MOA adjustments) to raise the point of impact to the center of the target. Mastering the concept of MOA is essential for achieving a precise and accurate zero.
Alternatives to the 36-Yard Zero: Exploring Other Zeroing Strategies
While the 36-yard zero offers numerous advantages, it’s not the only viable zeroing strategy. Other common alternatives include the 50-yard zero, the 100-yard zero, and the improved battlesight zero (IBSZ). Each of these strategies has its own strengths and weaknesses, and the best choice for you will depend on your specific needs and shooting style.
The 50-yard zero provides a slightly flatter trajectory at closer ranges compared to the 100-yard zero, but it requires more holdover at longer distances. The 100-yard zero is a more traditional approach that offers good accuracy at medium ranges, but it requires significant holdover at closer ranges. The IBSZ is a modified zeroing technique that aims to balance close-range and medium-range accuracy, but it can be more complex to implement.
Ultimately, the best way to determine which zeroing strategy is right for you is to experiment with different options and see which one provides the best results for your specific rifle, ammunition, and shooting style. Consider your typical engagement distances, the type of targets you’ll be shooting at, and your personal preferences when making your decision.
Elevating Your Rifle Accuracy
Mastering the 36-yard zero is a significant step towards achieving superior accuracy with your rifle. By understanding the underlying ballistic principles, following the proper zeroing procedures, and avoiding common mistakes, you can confidently apply this technique in various shooting scenarios. Whether you’re a seasoned shooter or just starting out, the 36-yard zero offers a versatile and effective solution for optimizing your rifle’s performance. So, grab your rifle, head to the range, and experience the benefits of this powerful zeroing technique for yourself. Take the time to experiment and fine-tune your approach, and you’ll be well on your way to achieving pinpoint accuracy at any distance.
